How to Use a Charcoal Grill – In the heat of the summer, we all enjoy a poolside barbecue, spending time with family and friends, hosting parties and reunions, and even relaxing outside with a romantic dinner for two. Nothing is better than the tangy, smoked flavor of barbecued food on a hot summer day–especially when it’s with company. If the tantalizing scent of grilling appeals to you, you might be in the market for a charcoal grill this season. There are many different ways on how to use a charcoal grill. Here’s what you need to know.
HOW TO REACH BARBECUE PERFECTION:
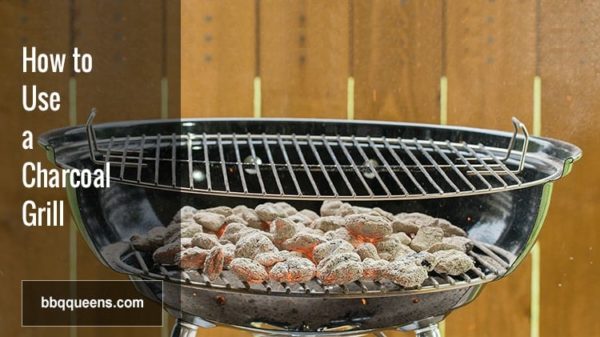
Seven Steps To Start Grilling
Grilling with a charcoal grill is relatively simple, especially if you are paying close attention to the food and grill in hand. Here are some simple steps you can take to begin enticing the neighbors with your top chef grilling skills:
1. Step One
The first thing you need to do is find a place for your grill. It should be far away from any items that might be burnt or melted by the heat of the charcoal fire. You may want to consider keeping the grill away from the walls of your house, or even over top of cherished patches of grass. Another thing to keep in mind is keeping the grill away from small children and animals–It’s always better to be cautious to avoid burns.
2. Step Two
If your grill is used, or you’ve been testing out your grilling skills to no success, you’ll want to clean out any ashes or partially burnt pieces from the grill. The grill should be completely clean with no charcoal debris. This debris can cause the flavor to turn charred and burnt, a side effect that may damage your grilling street cred.
3. Step Three
It’s time to start the grilling! If you haven’t bought charcoal, now would be the time to do so! Once you have your charcoal in hand, place it into the your grill. The best place to pile the charcoal is into the center of the grill. When placed in the center, the charcoal can optimally heat anything that you are cooking.
4. Step Four
Now it’s time to light that baby on fire! Well…almost! If you haven’t bought easy to light charcoal with lighter fluid infused(a great option for first time grillers), this could be a difficult step. Charcoal lighting fluid can make this step significantly easier. If you have some, point the fluid onto the charcoal. Once finished, take the fluid away from the grill to avoid the heat. This is an important step to take before lighting the grill as the fluid mixed with heat could cause a fire.
5. Step Five
It is now time to light the charcoal. Using a lighter (the best lighters for this are the ones with a long step so you’ll avoid burning your hands), very carefully apply the flame to the charcoal. It may take a couple of minutes for the charcoal to start burning well. If you need to, once the charcoal is hot, you can use a tool to spread it around a bit to keep the flame.
6. Step Six
The charcoal should be ready for grilling once the edges of it start to get white. This usually takes about 20 minutes. While your grill is heating up, you can prepare the food you are planning to cook. During this step, be sure to keep the lid on the grill so that the charcoal will heat up to the temperature required.
7. Step Seven
Using an oven mitt, carefully place the grill grate over the hot coals and close the grill cover. During this step, you can also coat the grate with oil using a basting brush. This will help keep food from sticking. Many people also use aluminum foil; however, this could cause the flavor to be slightly diminished. Once the grill is heated up and the grate is ready, you can place your meat or veggies onto the grate over top of the coals. Be sure to place the thickest meats over the center of the grate, where the fire should be the hottest.
GRILLING TECHNIQUES:
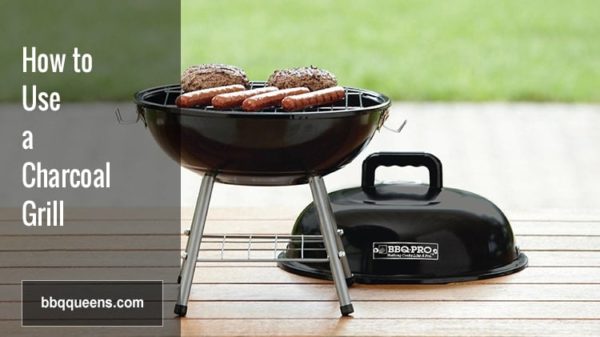
The Tips You Need For That Smoky Flavor!
As aforementioned, setting up a charcoal grill can be easy and fun. Perhaps this is why charcoal grilling is easy to learn–however, it can be difficult to master. After you’ve learned the basics to charcoal grilling, you can start applying different techniques to get different flavors and juicer food. If you’re looking for some tips to become the ultimate grill master, here are some ideas:
TIP ONE: Smokey wood flavor
When we think of grilling (especially with charcoal), we generally think of a smoky barbecue flavor that encrusts the outside of poultry, a juicy New York Strip, and even the edges of corn on the cob. While there are many barbecue sauces that you can buy that claim to infuse this flavor, you can actually use your charcoal grill to obtain just that.
The great thing about charcoal grills is that they are versatile. To add a wood smoked flavor, you can add wood chips to the charcoal or even replace the charcoal entirely with wood chips. Some types of wood to look for include hickory, mesquite, and fruitwood. Hickory will give you that traditional slightly sweet but rich flavor that pairs great with chicken or beef. Mesquite wood will also give you a super strong flavor that goes great with Texan-style rubs and barbecue sauces. If you’re looking for a lighter slightly fruity taste, Fruitwood like Apple or Cherry may give your delicate foods a little bit more flavor.
An added tip? You can add more of a smoky flavor with larger wood chunks combined with Charcoal. By combining the two together, your flavor will be infused with both the smoky charcoal traditional flavors and a wood-smoked barbecue flavor.
TIP TWO: How To Direct-Heat Grill
If you’re looking for a fast way to cook your thinner cuts of meat or simpler foods, direct-heat grilling is a great option. basically, you’ll cook your meat over a single and even layer of charcoal.
Firstly, you’ll want to light your coals using the aforementioned lighting method. For higher heat, use more charcoal (approximately 100 briquets. Then, spread out the coals in an even layer using tongs or a spatula. You can do this right over top of the lower grill grate. When spreading, be sure to leave a small section without coals. This is for the occasional flare-up or cool zone if your grill gets too hot. When your grill gets to the 450-550 degree range and the charcoals start to get white, place your food on top of the coals. This method will cook food much faster and will give your food a direct smoky flavor.
TIP THREE: Building a Two-Zone Fire
A two-zone fire is probably the most versatile way of cooking on a charcoal grill. Once mastered, this will be your go-to method of grilling. A two-zone fire entails differently positioned charcoals: One side will be for high-heat, direct searing, and the other side will be for lower-temperatures and safe zones for food.
First, light the coals. You can place a few coals under the grate and some on top of the grate for optimal heat. After lighting the coals, spread out the coals on top of the grate to one side. You’ll want to cover about 50% of the grate using a spatula or tongs. If the coals are fully heated, be sure to wear an oven mitt for safety purposes. The side of the grill opposite of the coals should be completely free of coals both underneath and on top of the grate. When your coals are ready, you can either directly cook on the higher heat side, or cook on the lower heat side. For good color, grill marks, and caramelization, the higher-heated side will be best. the coal-free side will allow for indirect cooking of more fragile fruits and veggies.
WHAT TO WATCH FOR:
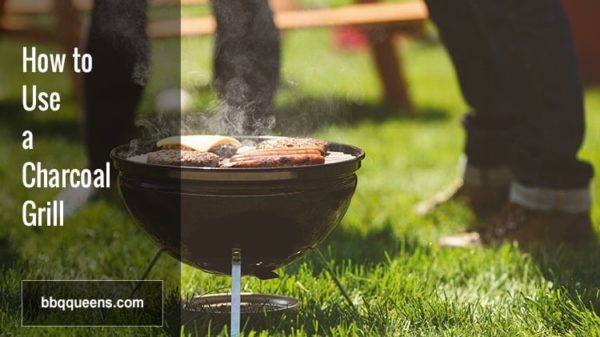
Things You Need To Avoid While Grilling
While learning how to grill, there are many mistakes you can make that you’ll want to avoid. Some of these mistakes are very easy to fix and will directly change how your food turns out after the grilling process.
MISTAKE ONE: Not Cleaning the Grill Grates
Charcoal grills require a bit more maintenance than a gas grill. With this maintenance comes required cleaning in order to be sure that the grill functions and cooks the way it needs to. Dirty grills are still safe to use, you should always give both public and private charcoal grills a quick cleaning before use. This step will prevent any bacteria or old, charred remains from transferring to your new meal. To clean the grill grate, use a stiff wire brush. An extra tip? by taking this step, you’ll create stronger grill marks.
MISTAKE TWO: Impatience
It’s very important to be patient while waiting for the grill to heat up. If you jump the gun and add the food before the grill is fully heated, the food can stick to the grate. Your flavors may also suffer the consequences as the wood/charcoal isn’t heated enough to infuse flavors into food. You’ll know that your grill is ready when the charcoal looks grey and ashy.
MISTAKE THREE: Using the Wrong Heat Source
Before adding charcoal to the grill, consider what your cooking. If you’re cooking a thinner cut of meat, a direct heat on the grate may be better for cooking the food–both the outside and inside will get done around the same time. However, if you have a thicker cut of meat or are grilling a more fragile food like corn on the cob, the direct heat may cook the outside too much before the meat is actually done. Larger foods like ribs or a whole chicken are best cooked over indirect heat.
MISTAKE FOUR: Not Using the Vents
The great thing about charcoal grills is that that have vents typically found on the hood or bottom of the grilling unit. These vents allow air flow, which will keep the charcoal from burning and will allow better control of temperature. If you forget to open or close the vents, the charcoal could burn out before food is finished cooking, or the charcoal may burn too hot and potentially burn your food. Neither of these mistakes can be affording in a great grilling experience.
MISTAKE FIVE: Checking Out the Food While Cooking
While grilling, you may be tempted to lift the lid off of the grill to check the food. While the excitement is understandable and certainly warranted, when the lid is lifted, it feeds oxygen to the fire. Because it is a charcoal grill, this extra oxygen will cause the fire to burn even hotter, which may mean charred food. While it’s okay to check the food, be careful not to check too often to avoid burning.
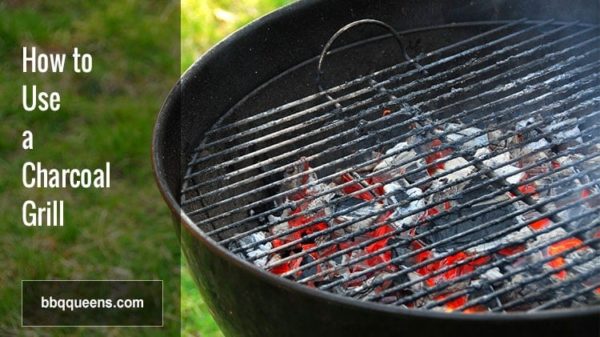
Using charcoal grill to grill steak
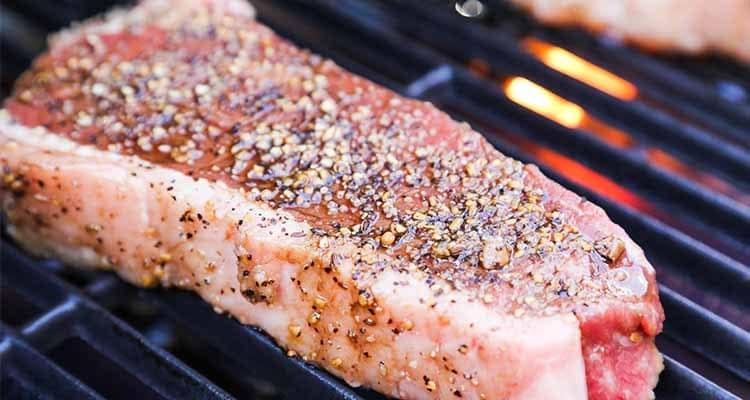
I love my charcoal grills. Like, I really, really love them. I love them so much that I own 4 different kinds of charcoal grills.
While I do most of my outdoor cooking on them, my favorite thing to cook over flame would definitely be a nice thick medium rare steak.
If you’ve never had a steak prepared over charcoal, man are you missing out! There is something about the subtle smokey flavor that really makes beef stand out.
In this article, we’re going to run down what you need to know to be able to grill an awesome steak over charcoal.
What to look for in steak
Before we go over the step by step on how to actually grill your steak, let’s go over some of the basic things you need to know when it comes to picking out your steak, and what you’ll need before you fire up the grill.
1. Type of Steak
Confession time: for years I used to aimlessly meander the meat aisle at the supermarket, not knowing what the heck I should buy.
I’d pick up different steaks, look at them like I knew what I was looking for (I didn’t), then eventually decide on something at random.
God, did I ever cook some awful steaks.
If you’re new to cooking steak and don’t know what to buy stick to the steakhouse classics. You will never go wrong with cuts like ribeye, striploin, T-bone/porterhouse, or filet mignon.
2. Grade of Beef
Once you’ve narrowed down the cut of beef, you need to decide on the grade of beef you want. See, not all beef is created equal.
All beef is graded depending on the amount of intermuscular fat that runs throughout it (the traces of white fat you see in your steak). Fat = flavor, and the more fat that is running throughout the steak, the more flavorful it will be.
In the USA the beef you find in your supermarket is typically graded as choice or select, with the choice having more fat than select. You can also make a trip to your butcher and see if they have any prime grade beef, which would contain even better marbling than choice.
My recommendation: never grill a steak that is not graded at least choice.
3. Thickness
When it comes to steak, typically the thicker it is the better. A thin steak will cook too quickly and you won’t be able to give it a proper sear on the outside without risking it being overdone on the inside.
A steak that is at least 1” thick allows you to avoid that.
What you Need
You don’t need much to cook a steak over charcoal. A short list of requirements would be:
- Charcoal Grill
- Charcoal Chimney& Lighter Cube
- Charcoal (either lumpor briquettes are fine)\
- Digital instant read thermometer
- GrillGrates (optional – more on those in a minute)
- Seasoning/Spice Rub
- And of course, steak!
Step by Step Guide
In the video below, Malcolm Reed of HowtoBBQRight breaks down his step by step guide to grilling a perfect, medium rare steak every time.
Let’s get the rundown.
1. Apply Seasoning to your Steak
The first step is to apply a little seasoning to your steak. Malcolm recommends his All Purpose seasoning that is comprised a mixture of salt, pepper, and garlic.
These are classic steak seasonings that will always go well. If you don’t have access to Malcolm’s AP Seasoning, simply apply a little salt, pepper, and garlic of your own.
2. Light Charcoal
Since you have to wait an hour for your steak to dry brine, it doesn’t make sense to light your charcoal until after you have seasoned your steak.
Load up your charcoal chimney and light a fire starter underneath it. Once your charcoal is ashed over completely, dump it into your grill.
You have a couple of options for how you are going to place your charcoal, depending on the equipment you have on hand.
If you have a set of GrillGrates (more on those in a minute), you may choose to dump your charcoal in the center and space it evenly throughout your grill.
Otherwise you may simply choose to bank your charcoal to one side of your grill. This way you’re able to sear over direct heat as per the below instructions.
If your steak is not finished you can lay it on the cool side away from direct heat and avoid burning your steak.
3. Add some more seasoning (optional)
This step is completely optional, but you can add more coarse seasoning now like Montreal Steak Spice. According to Malcolm this will add an extra layer of flavor and improve the texture and crust on the outside of the steak.
4. Use GrillGrates (optional)
GrillGrates are an amazing aftermarket product that will give you the best sear marks of your life. Made of anodized aluminum, GrillGrates increase the grill surface temp, reduce flare-ups, and eliminates hot spots on your grill.
While they are optional, it is no secret that Malcolm loves his, and he has used them to win many steak competitions.
In fact, GrillGrates are so amazing when cooking a steak, that they are used by almost every competitor on the Steak Cookoff Association competition circuit.
5. Place on grill and cook
Once your charcoal is ashed over, dump out your charcoal chimney and place your cooking grate on your grill.
- Let your grill heat up – you want them to be at least 500°F.
- Place your steaks on your grill and put the lid back on.
- After two minutes, rotate the steaks 90°; this will give you perfect sear marks.
- After another two minutes, flip them over.
- After the next 2 minutes, rotate them another 90° for the final 2 minutes of cooking.
Please note that your cooking time may vary. Depending on the thickness of your steak, the cooking temp at grate level, and so on your steak may cook faster or slower than what we explained.
Tips for the perfect grilled steak
Outside of the tips and methods Malcolm shares above, here are some simple tips to ensure you serve a steakhouse quality steak, every time.
Use a dry brine
Dry brining is the process of applying salt to meat prior to cooking it.
When you salt the exterior of your meat, the salt draws moisture out of the meat that then dissolves the salt, before finally being reabsorbed back into the meat. This gives us an ultimately juicier, more flavorful steak.
You can use just salt, or you can do like Malcolm did in the video and use a rub that contains salt.
Use a thermometer
I can’t say this one enough. Use a quality digital instant-read thermometer. I have a Thermapen and I can’t recommend it enough.
Check your steak while you are cooking it to make sure you know when it is almost done and to ensure you do not overcook it.
Resting steak?
Some people swear you have to rest a steak to allow the juices inside to settle. I tend to disagree.
Meathead from AmazingRibs.com did an amazing job debunking this myth on his website.
While technically yes, you may lose some more juice from your steak if you remove it from the grill and immediately slice it into a dozen or so pieces, that is likely not what will really happen when you are cooking a steak to serve and eat.
What is likely going to happen, is that you will bring the steak into the kitchen, then take 2 – 5 minutes to get the sides ready, turn off your grill/close your grill vents, and get seated. Then you’re going to slice into your steak one bite at a time.
To sum it up
As we’ve outlined, it is not very difficult to make amazing steaks in the comfort of your own home. You can pick up a new Weber Kettle grill for prety cheap, and after a quick trip to the grocery store you can be cooking up delicious steaks on your patio in no time.
What about you? How do you like to prepare a steak? Do you think there are any glaring omissions that we’ve missed out? Leave us a comment down below with your favorite methods to prepare a steak.
Conclusion
Summer is a great season for grilling on a charcoal grill: learning how to grill on a charcoal grill can be simple and easy to learn and will allow hours of entertainment as you try to master the skill. While grilling this season, take in some of these tips and things to avoid for the optimal grilling experience while you experiment with the grilling process. If all of these tips appealed to you, you may be in the market for considering a charcoal grill.
Last Updated on August 17, 2020 by Judith Fertig
Leave a Reply